
How to Upgrade SketchUp Renders
Learn how to use RenderChat to turn a basic SketchUp scene into multiple render versions by adjusting style, rug details, sofa material, and camera angle.

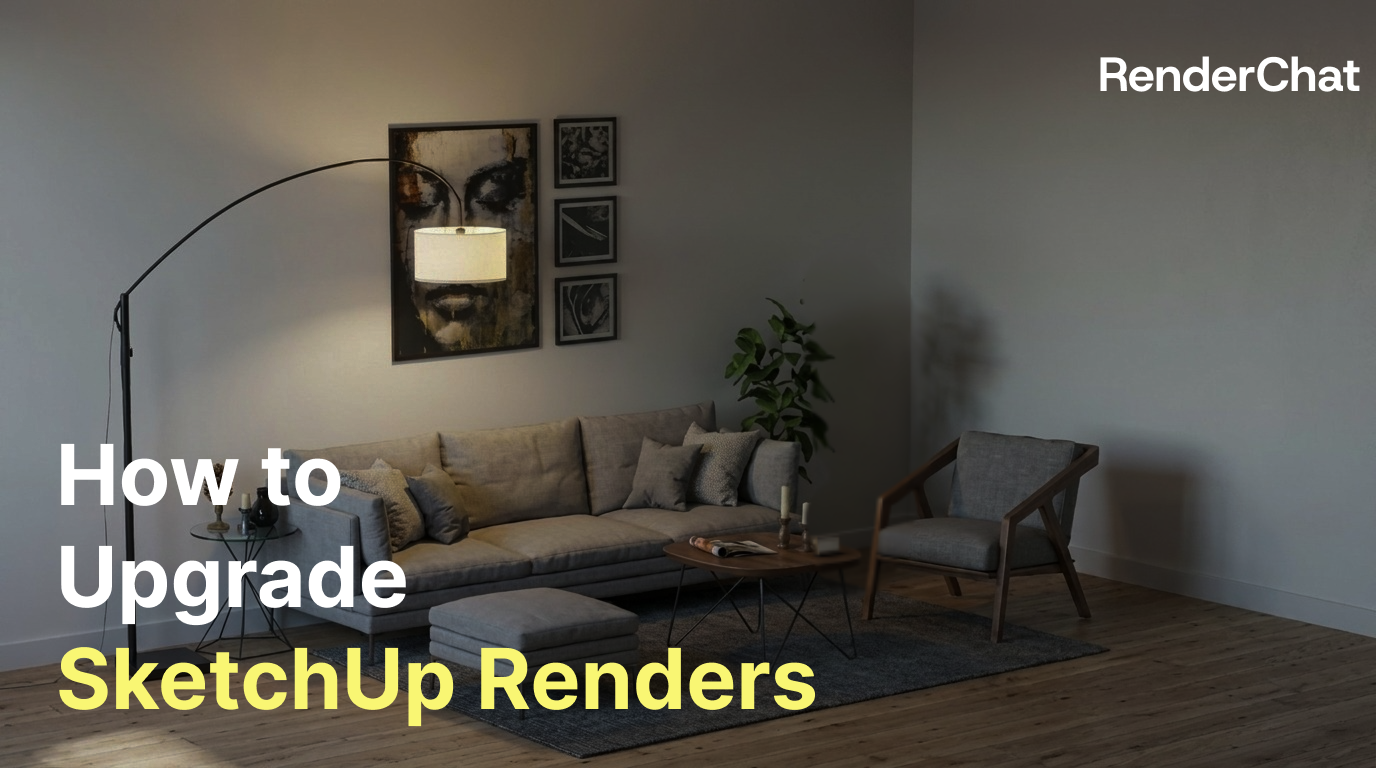
Why upgrade SketchUp renders with AI?
SketchUp is often the fastest way to build an interior base scene. It helps designers define room proportions, furniture layout, and circulation before moving into detailed visualization.
But once the base model is ready, creating a polished render usually takes more time. Designers may need to adjust PBR materials, lighting, camera angles, textures, and post-processing settings one by one.
In this tutorial, we’ll use RenderChat to upgrade a basic SketchUp scene into multiple interior design versions. Instead of manually editing every material parameter, we’ll use AI to explore style direction, rug details, sofa fabric, and camera angle.
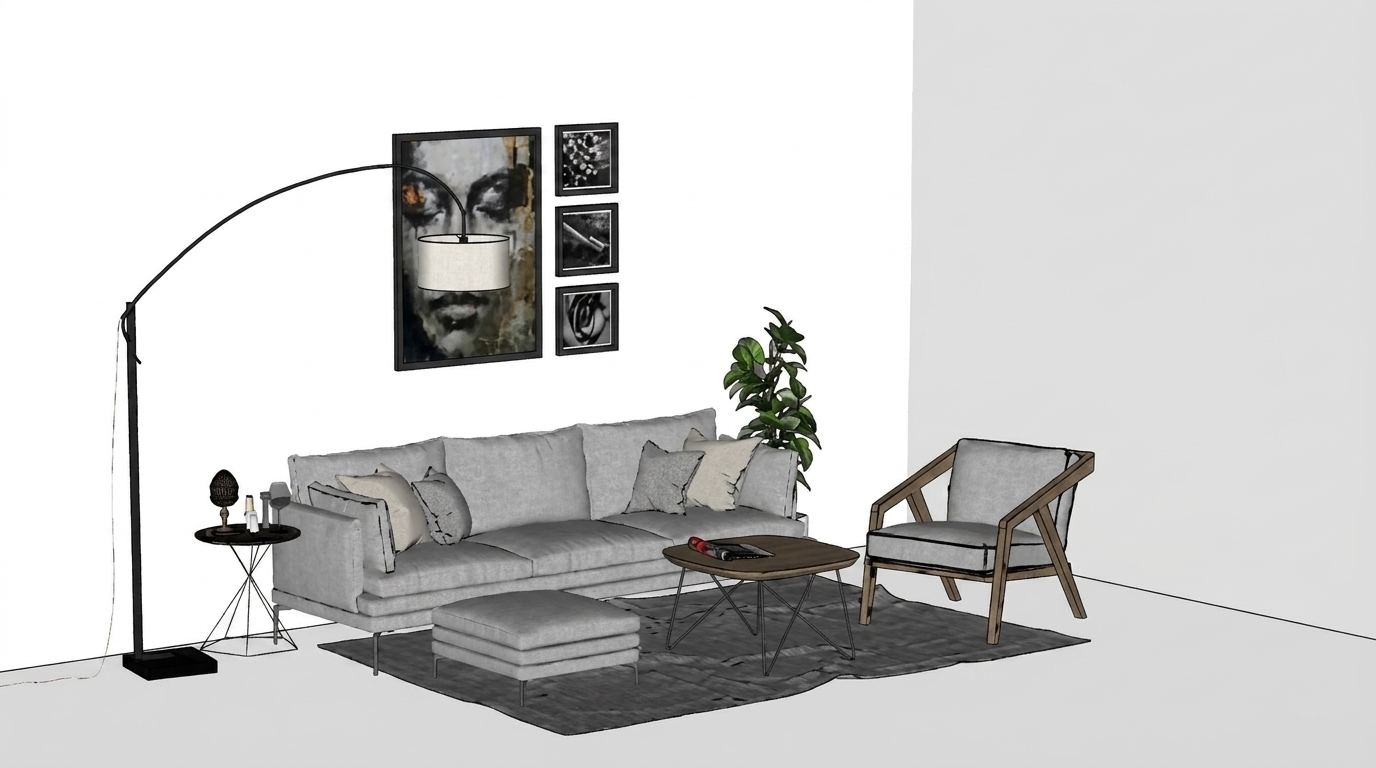 Figure. Starting from a basic SketchUp scene before AI rendering
Step 1 — Log in and start a new project
First, log in to RenderChat and create a new project from the home page.
This workflow is useful when you already have a base image from SketchUp and want to generate a more polished interior rendering. The SketchUp scene provides the spatial structure, while RenderChat helps explore visual direction, material mood, and atmosphere.
Before uploading the image, we usually check whether the scene has a clear camera angle, enough visible furniture, and a readable room layout. A clean base image usually gives the AI a better structure to follow.
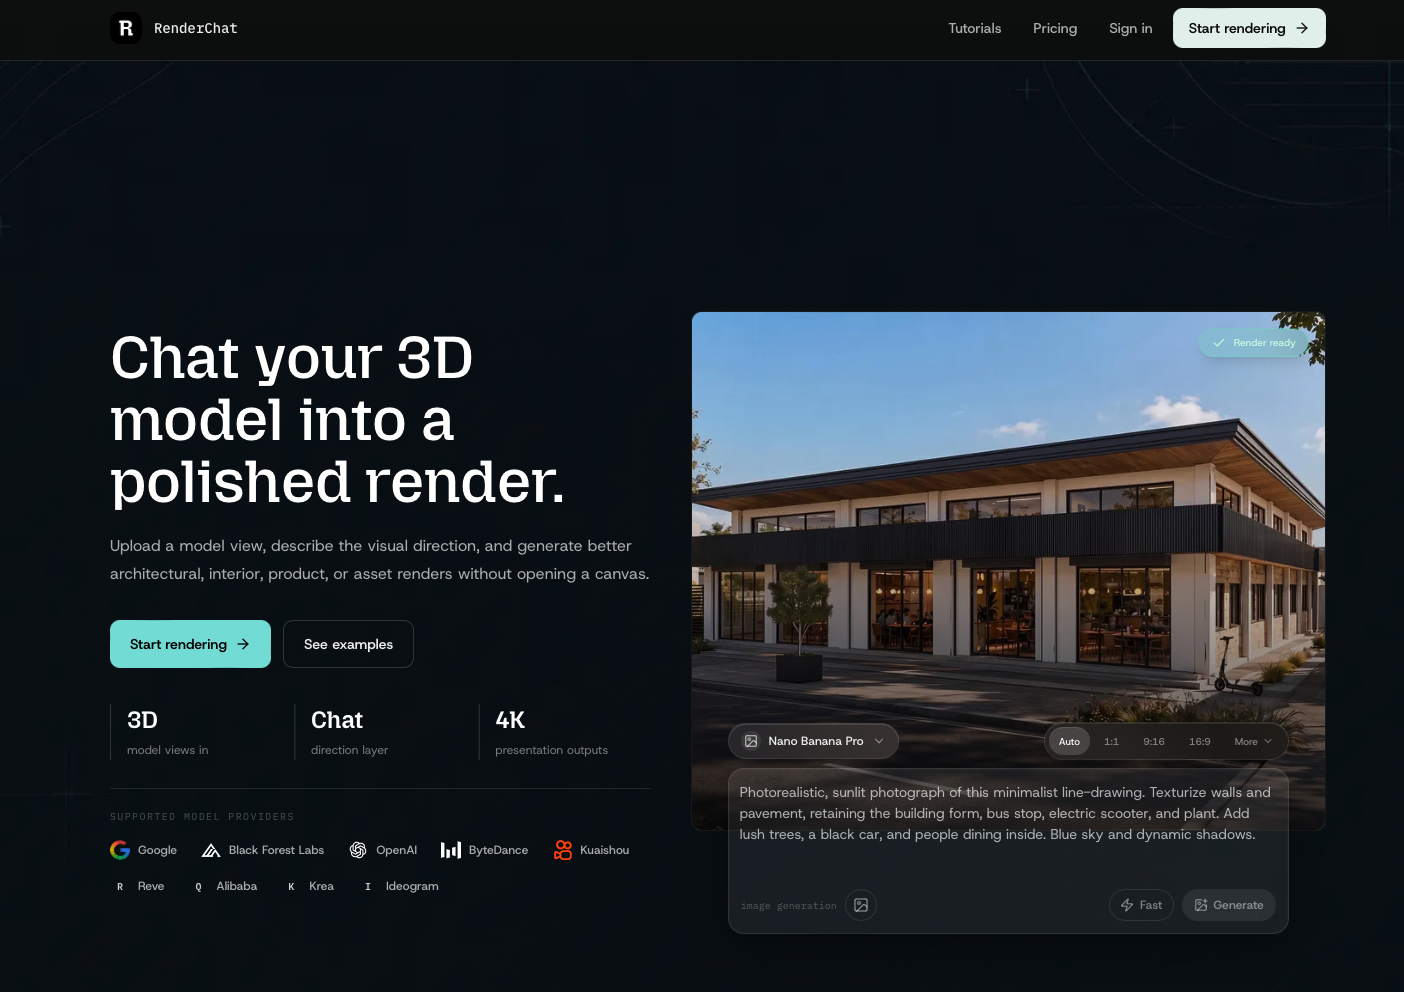
Step 2 — Upload your SketchUp scene
Next, upload your SketchUp screenshot or exported scene into RenderChat.
Use an image that clearly shows the main interior space. For example, a living room scene should include the sofa, rug, wall, floor, and enough surrounding context so the AI can understand the room composition.
After uploading, the goal is not to rebuild the model from scratch. We want to keep the original space as the design skeleton, then use AI to improve style, material, lighting, and realism.
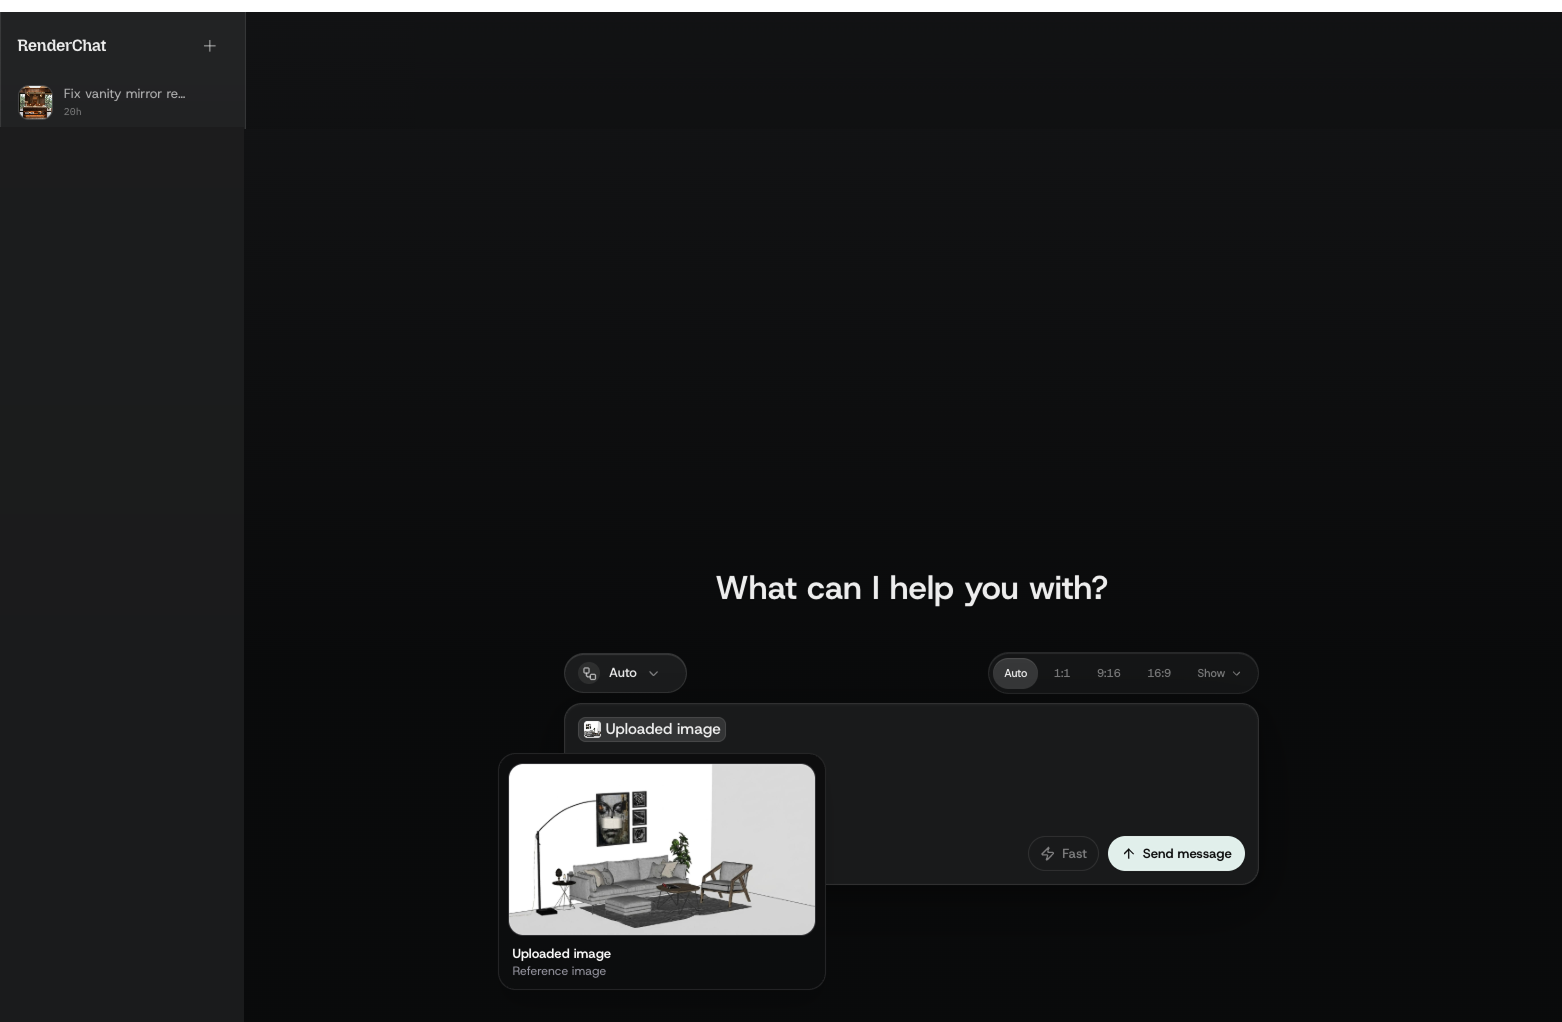
Step 3 — Select Model and Aspect Ratio
After uploading the scene, select the appropriate AI model and aspect ratio for the render.
Choose an image model such as Nano Banana Pro or FLUX.2 Pro based on your quality preference, then select the aspect ratio (Auto, 1:1, 9:16, or 16:9) that best fits your output needs.

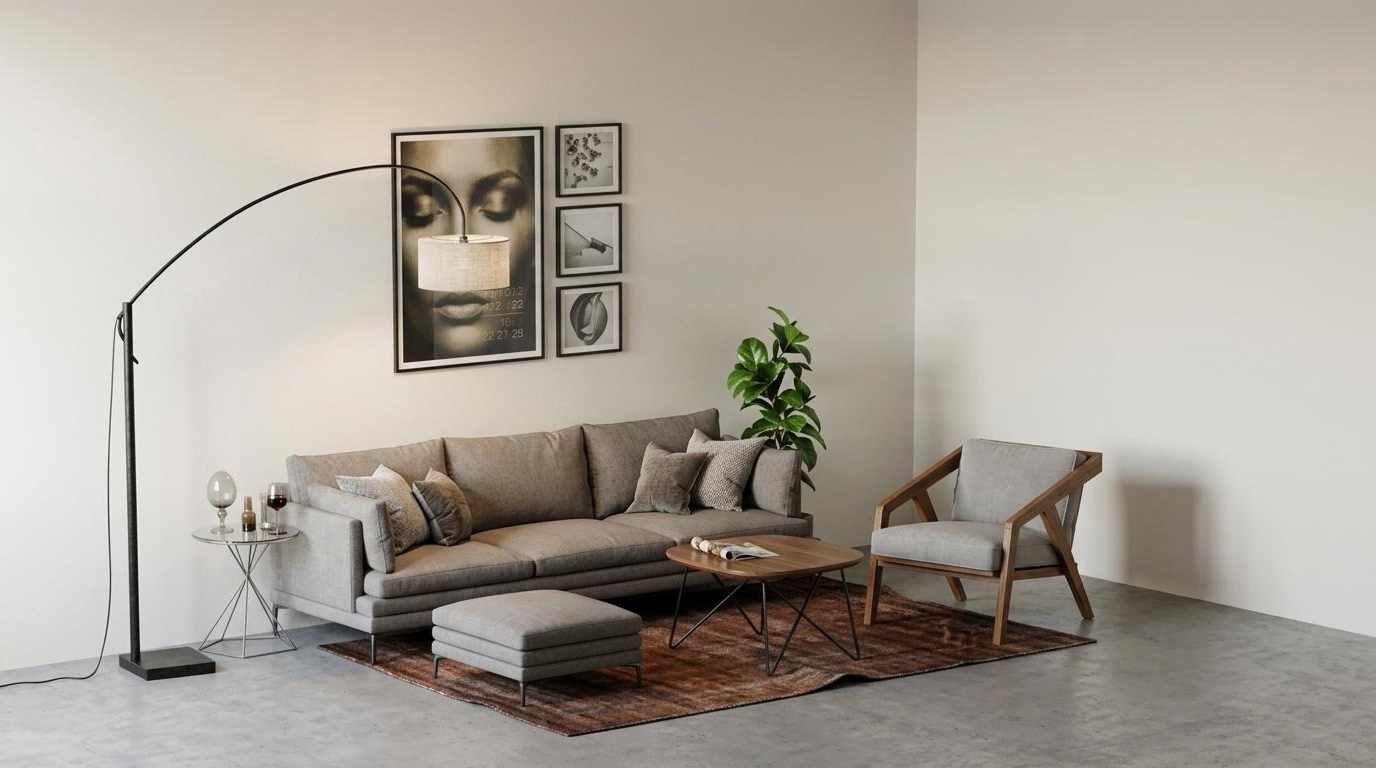
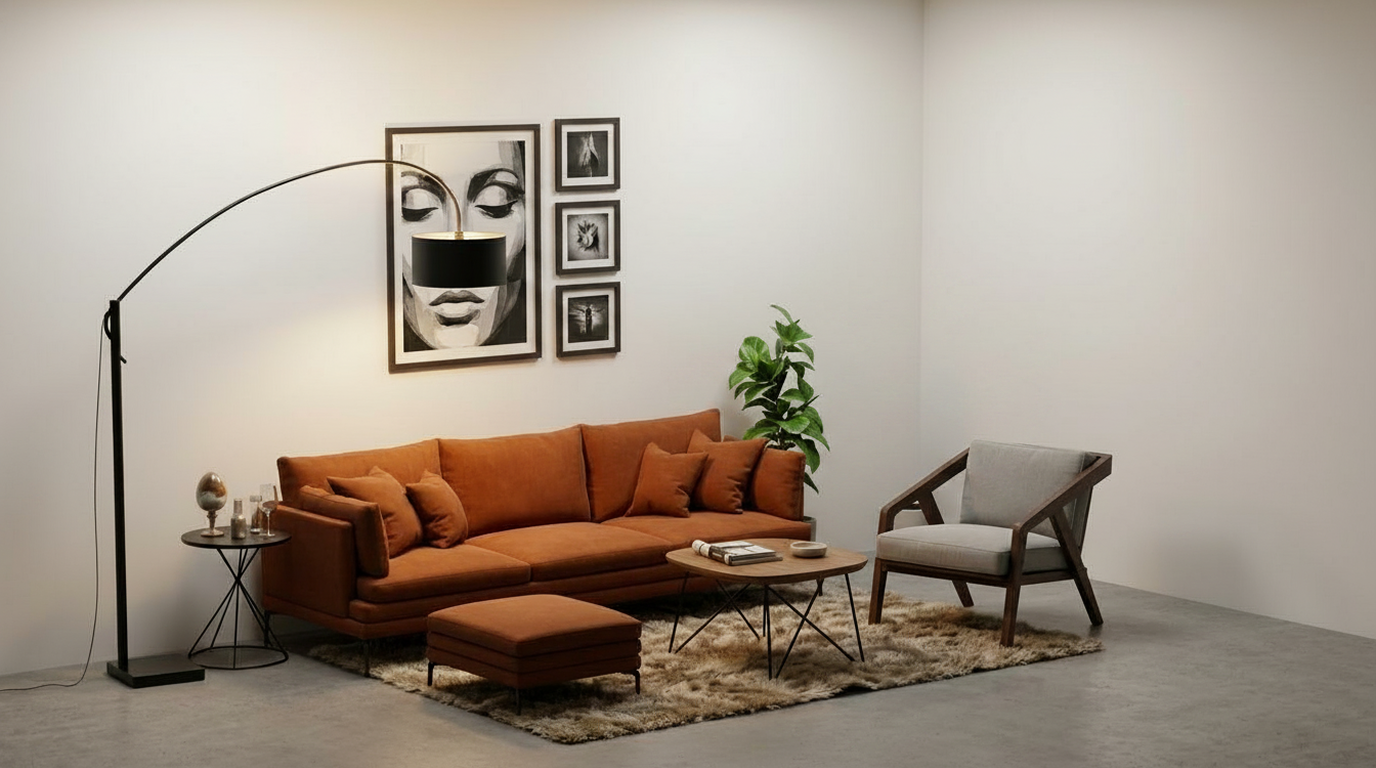
Figure. Using the same SketchUp scene to generate different interior style directions
At this stage, we usually avoid overloading the prompt with too many material details. The first goal is to decide the overall design direction.
warm modern living room, soft natural lighting, clean layout, realistic interior rendering
Once the style direction is selected, the later edits become much easier. Instead of adjusting every texture manually, we can test multiple versions quickly and choose the one worth developing further.
Step 4 — Submit the render
After selecting the Type, Style, render settings, and prompt, submit the render.
RenderChat will generate a new version of the SketchUp scene with improved materials, lighting, and atmosphere. At this point, we usually compare several outputs side by side instead of judging only one image.
The important question is not “Which render is perfect?” but “Which direction is worth continuing?” This helps early-stage design review move faster.
Step 5 — Adjust the camera angle
Camera angle is another factor that can completely change the quality of an interior render.
If the angle is too high, the image may still feel like a SketchUp model screenshot. If the angle is too low, furniture proportions may look distorted. For most interior scenes, we prefer an eye-level camera angle because it feels closer to real interior photography.
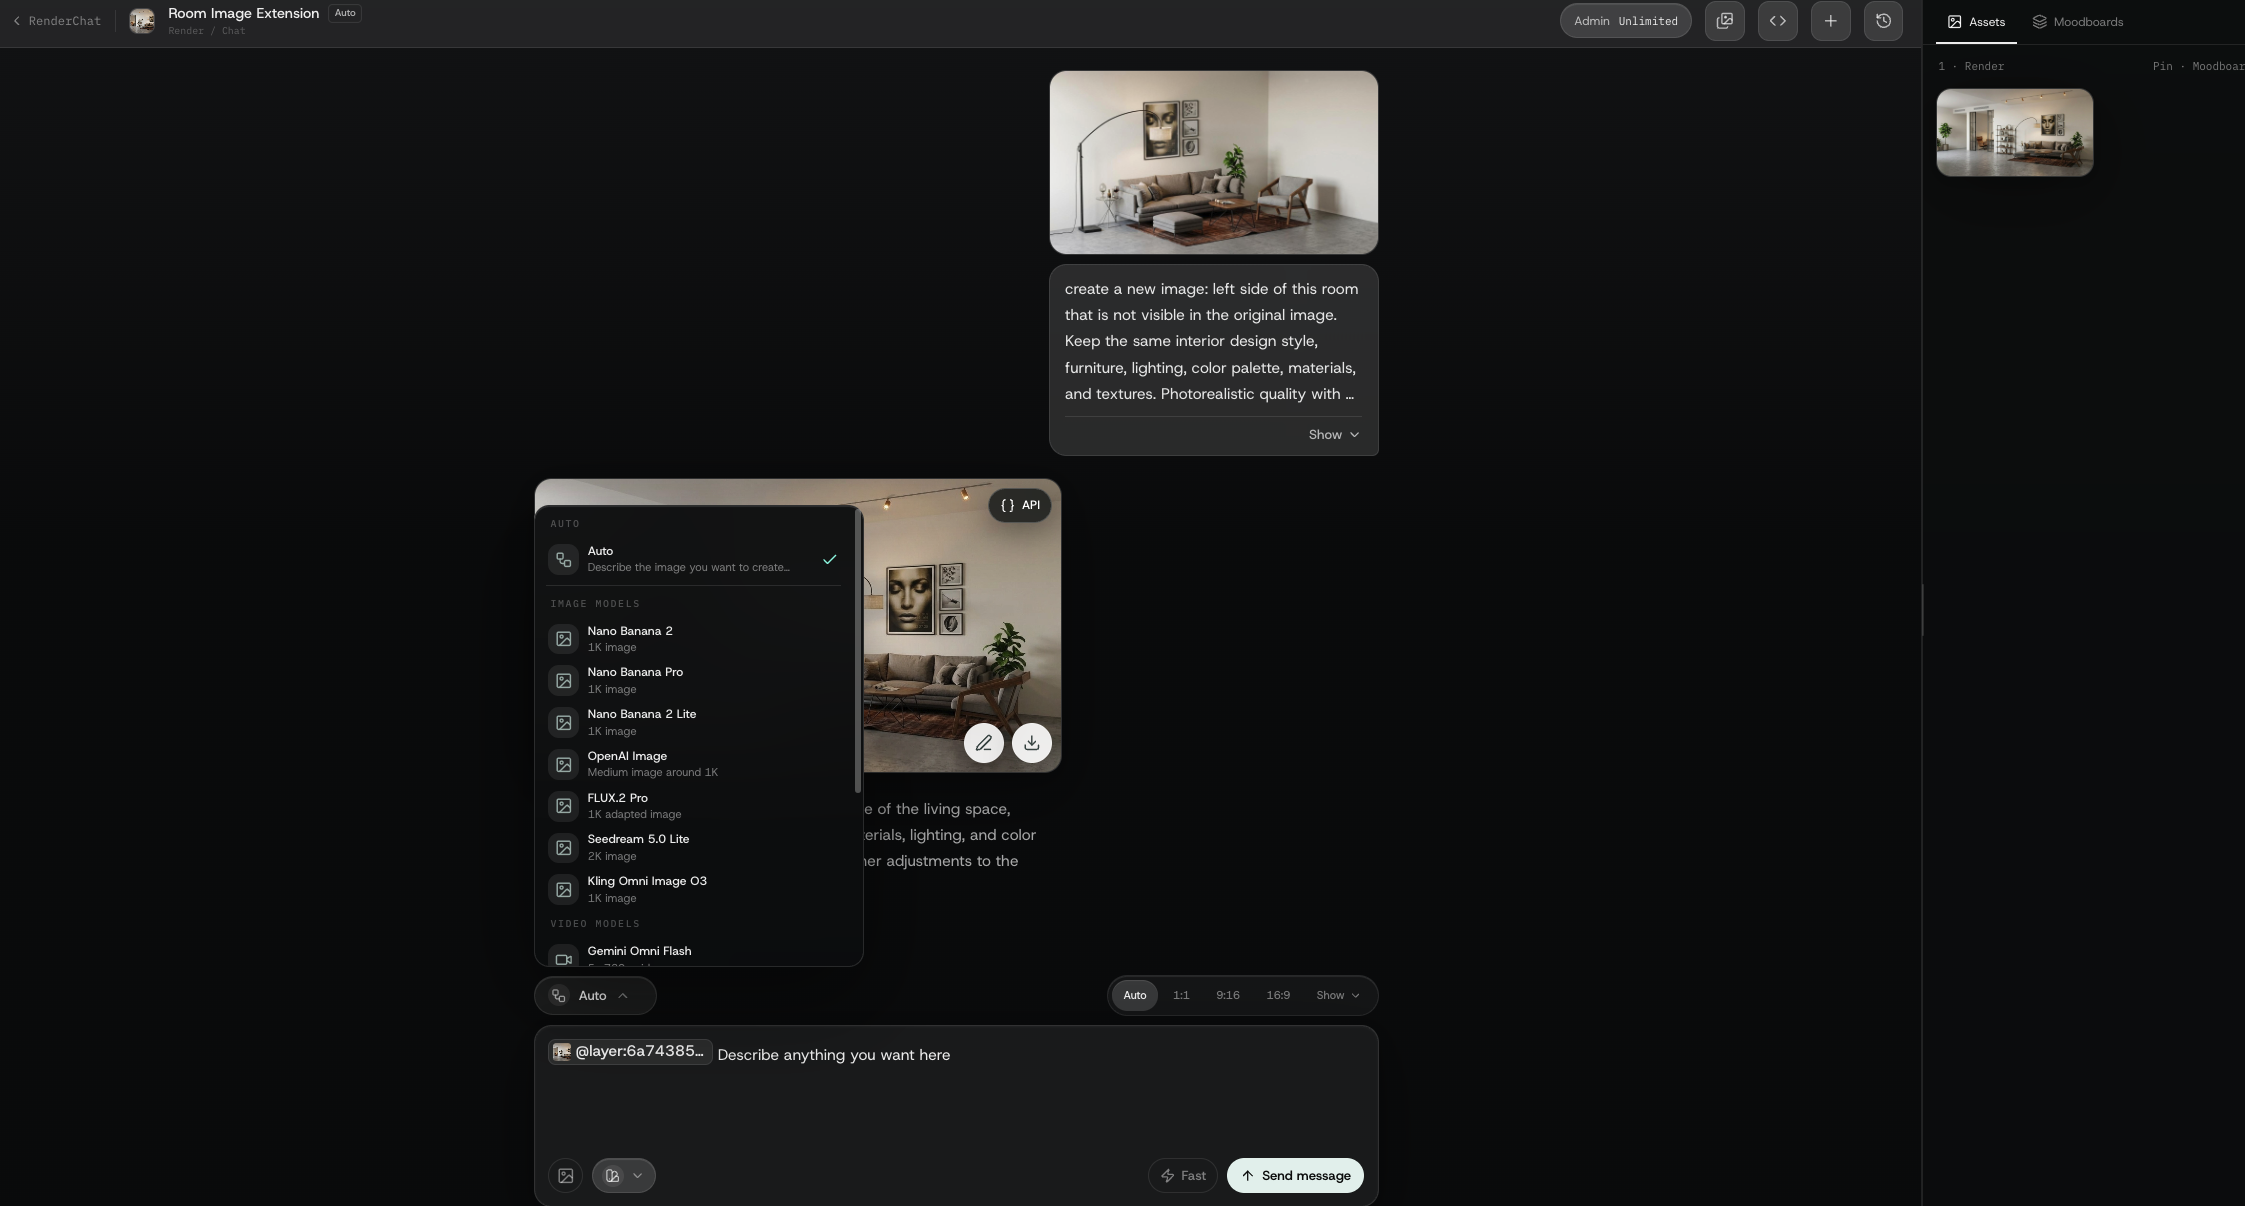
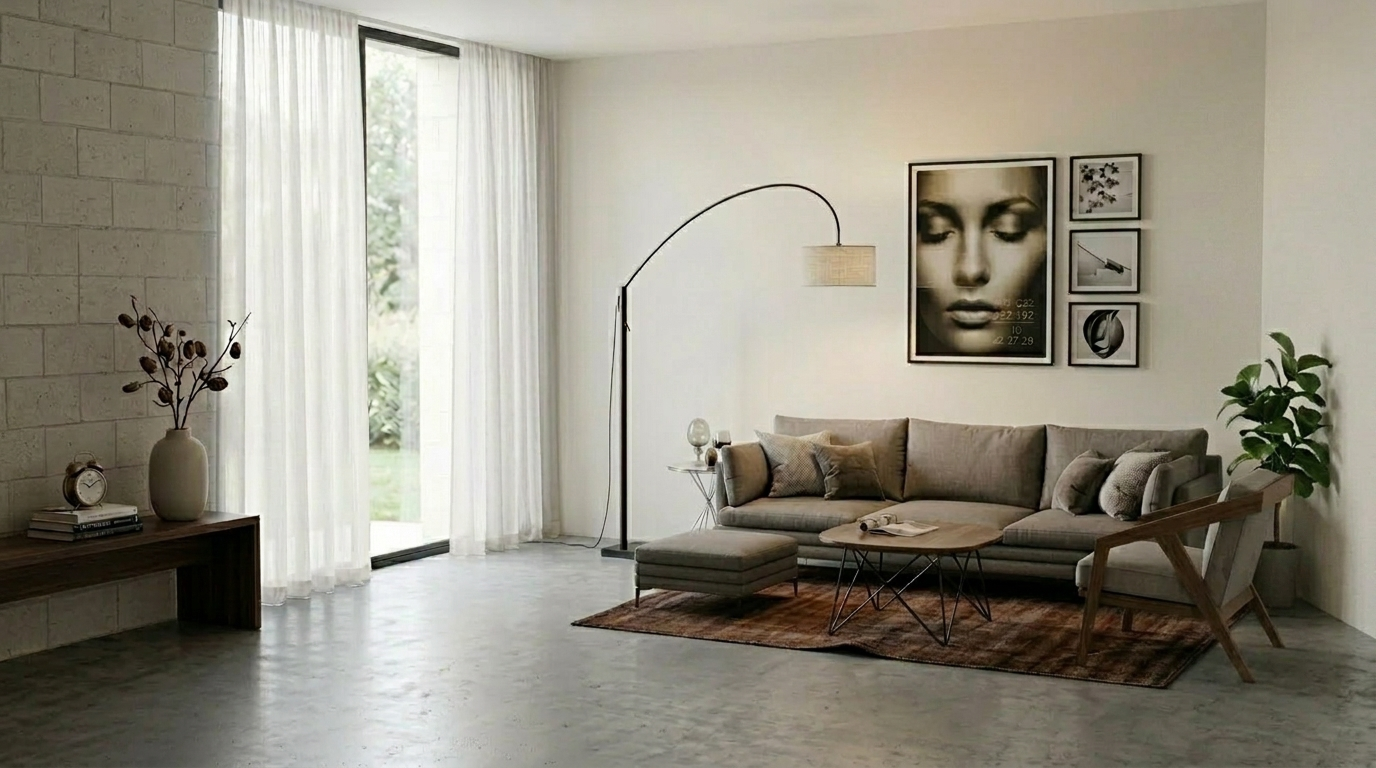
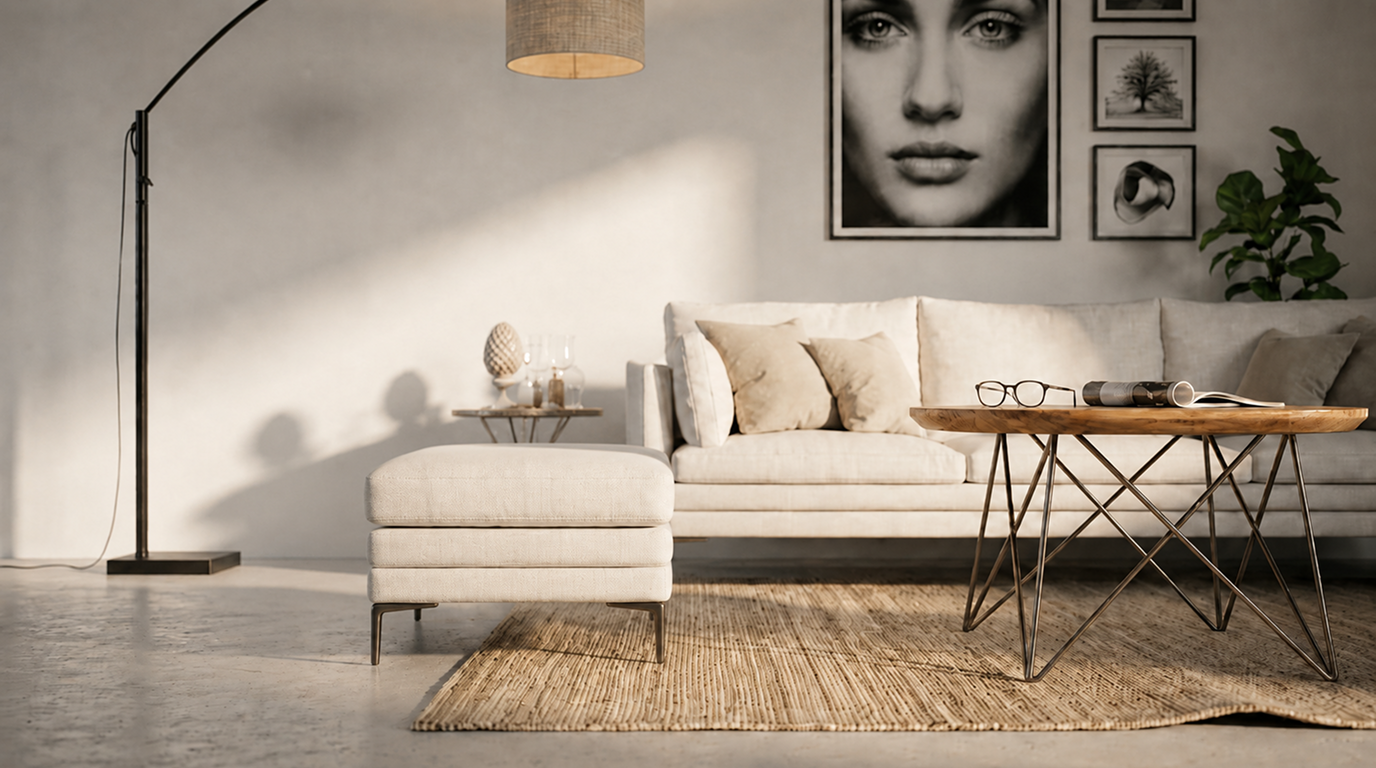
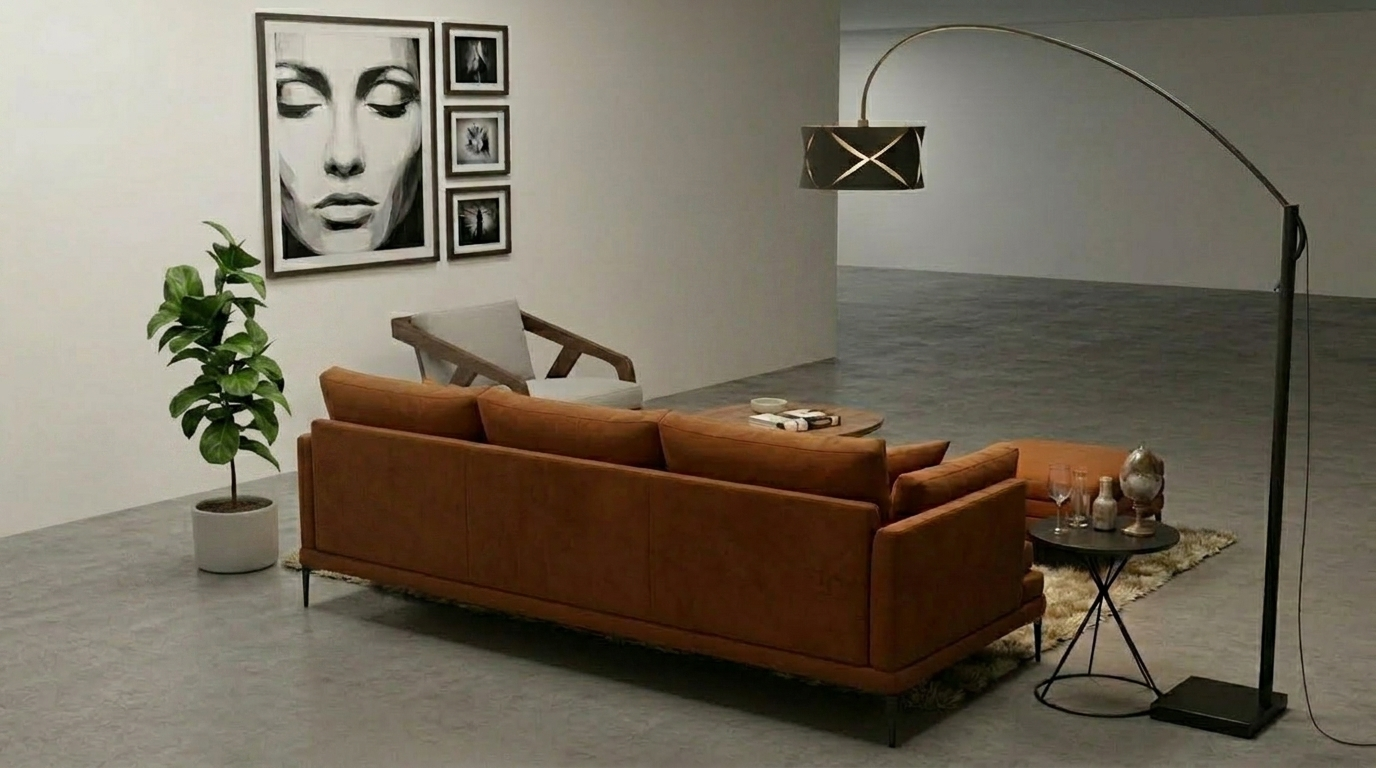
Figure. Testing different camera angles from the same SketchUp scene
Additional edit — Refine rug details
After render is generated, one of the easiest ways to improve the image is to edit the rug.
The rug may look like a small object, but it has a strong effect on the whole room. It changes the visual weight of the floor, softens the furniture area, and helps connect the sofa, coffee table, and surrounding space.
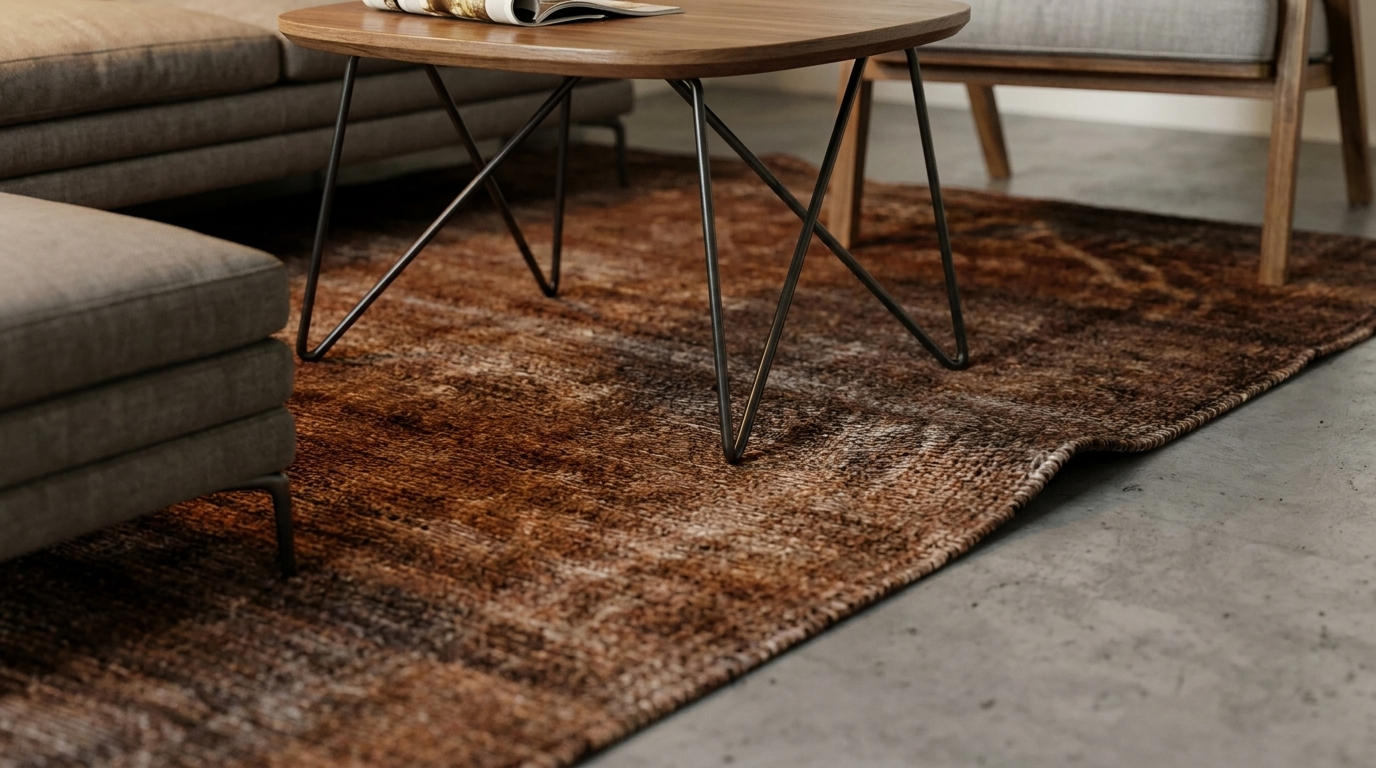
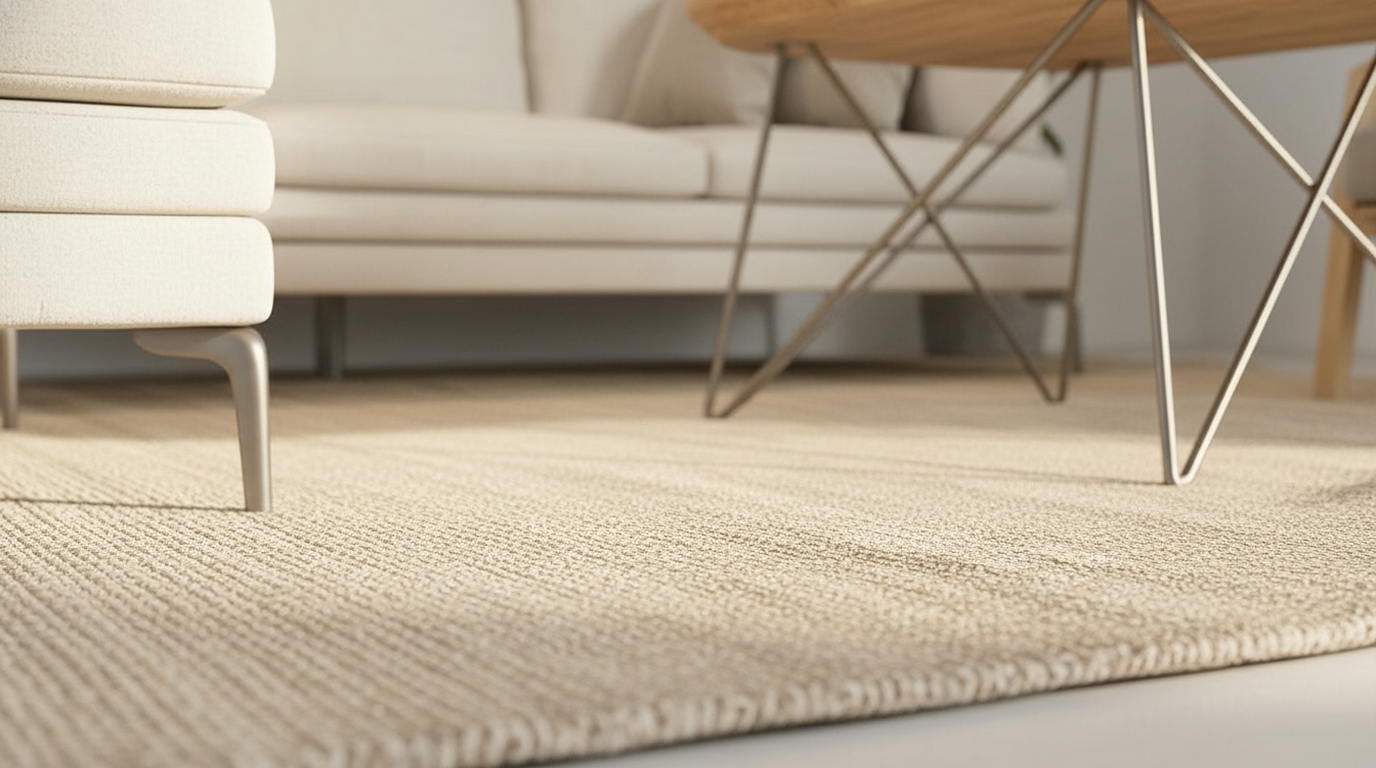
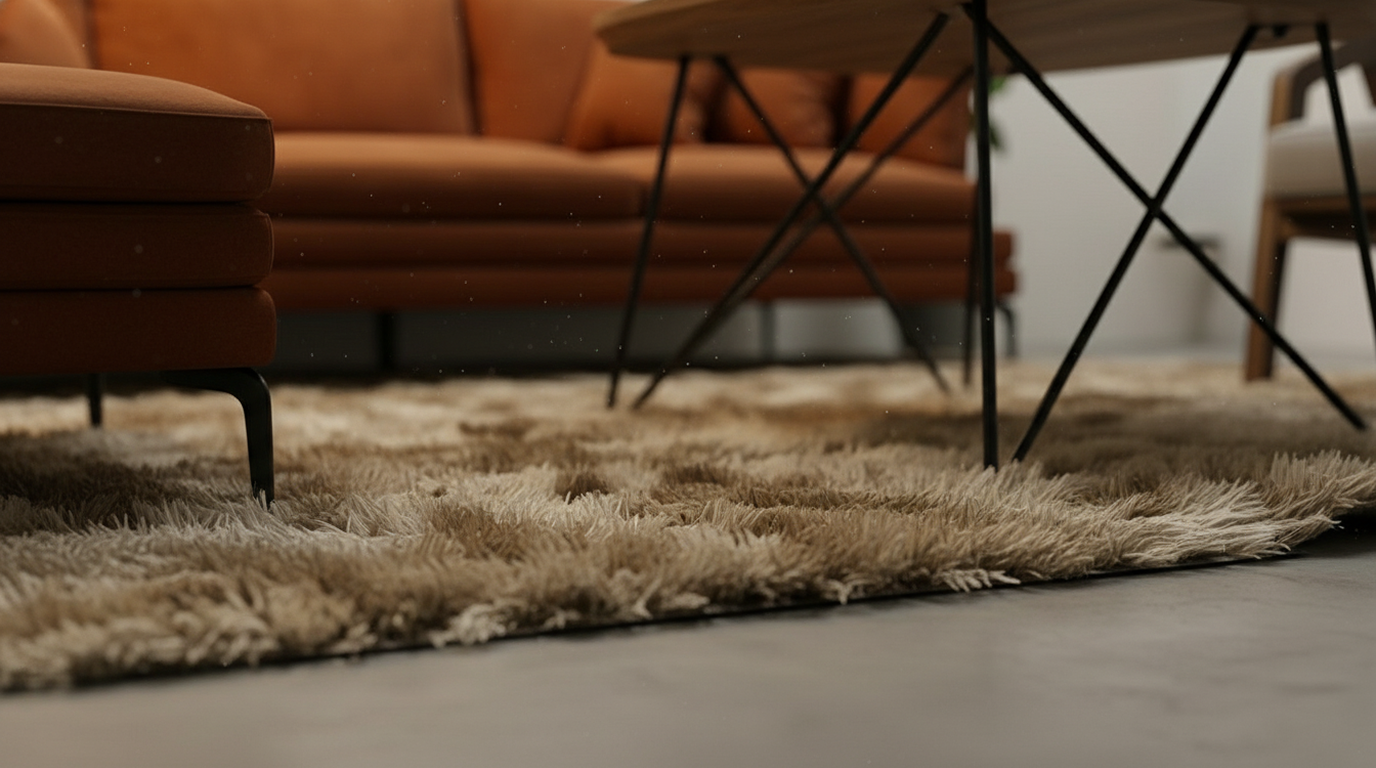
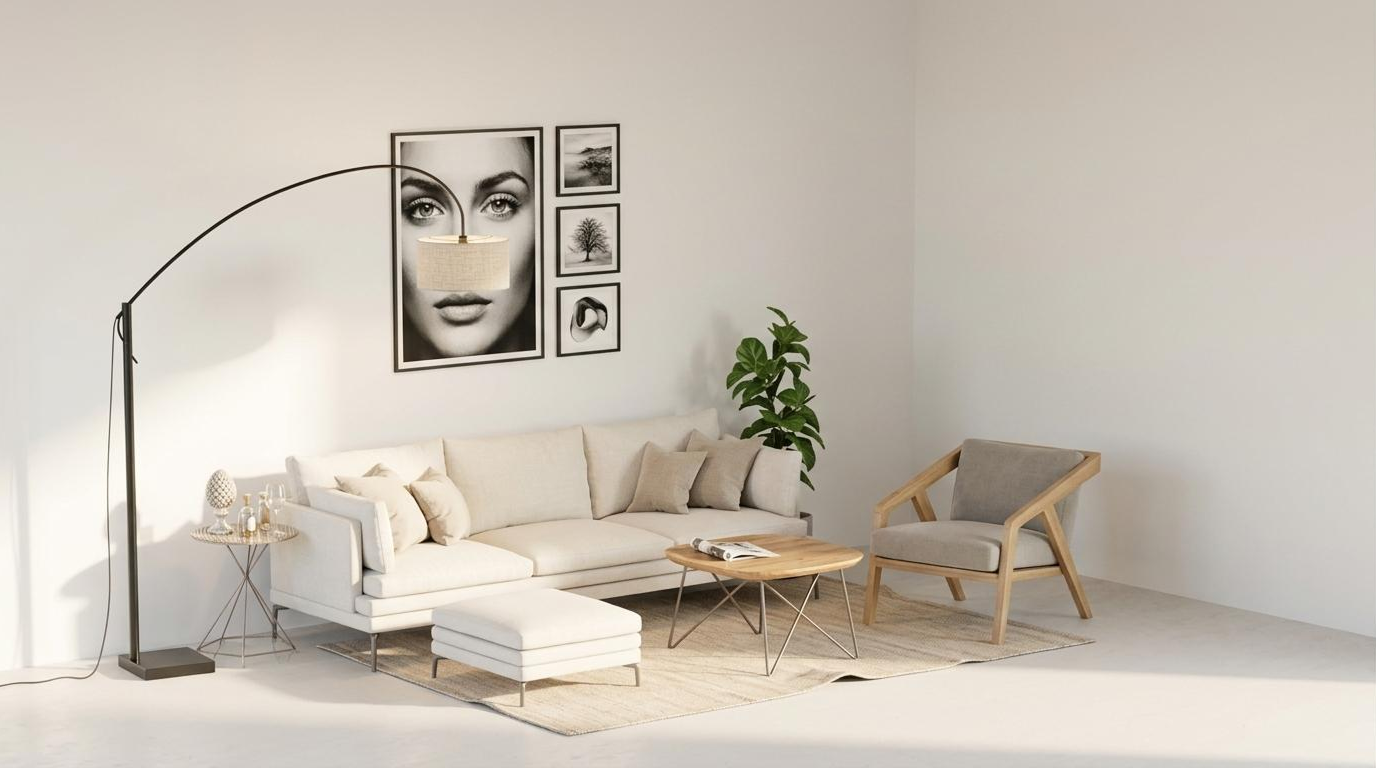
Figure. Editing rug material and texture to improve spatial depth
For rug edits, we usually describe texture, softness, and color tone clearly.
Replace the gray rug with a realistic natural woven area rug in warm sand beige tones, featuring a low-pile flatwoven texture, subtle fiber variation, a slightly coarse organic surface, soft edges, and natural shadowing
The same logic also applies to sofa material. Sofa color and fabric can strongly change the main visual tone of the room.
Render the sofa in soft ivory / warm white woven upholstery, with a relaxed, airy, and comfortable coastal character.
A cinematic new camera angle of this scene: xxx view of the subject
There is also a trade-off here. If the angle change is too aggressive, the AI may alter the original room layout. For SketchUp-based workflows, we usually keep the original composition and only make small perspective improvements.
Generate multiple design versions from one scene
The biggest advantage of this workflow is that one SketchUp scene can become several design directions.
Previously, comparing three interior styles often meant changing materials, replacing furniture, adjusting lighting, and rendering again. Now we can use the same SketchUp scene as a stable input and generate multiple versions with different prompts.
This workflow still has limitations. Rug details, sofa fabric, furniture consistency, and alignment with the original model may still need manual review. But for early-stage interior design discussions, it can greatly reduce the cost of testing different directions and help designers find the most promising version faster.
Was this helpful?
Related tutorials

How to Create Figure-Ground Maps from Aerial Views
Learn how to use RenderChat to turn aerial urban views into clean figure-ground maps for site analysis, portfolios, and urban design presentations.
 Aug 27, 2026
How to Turn a Floor Plan into a Professional Portfolio Rendering
A cold 2D CAD drawing can become a clean, readable, and presentation-ready floor plan with the right prompt workflow.
Aug 18, 2026
How to Quickly Use the Add People Feature for Realistic Renders
Learn how to use RenderChat to Add People and quickly add realistic figures to your architectural and interior renderings.
Willy·Aug 11, 2026